Capture Life’s Moments: Photobooks, Canvases, and More - RapidStudio Blog
Recently Published:
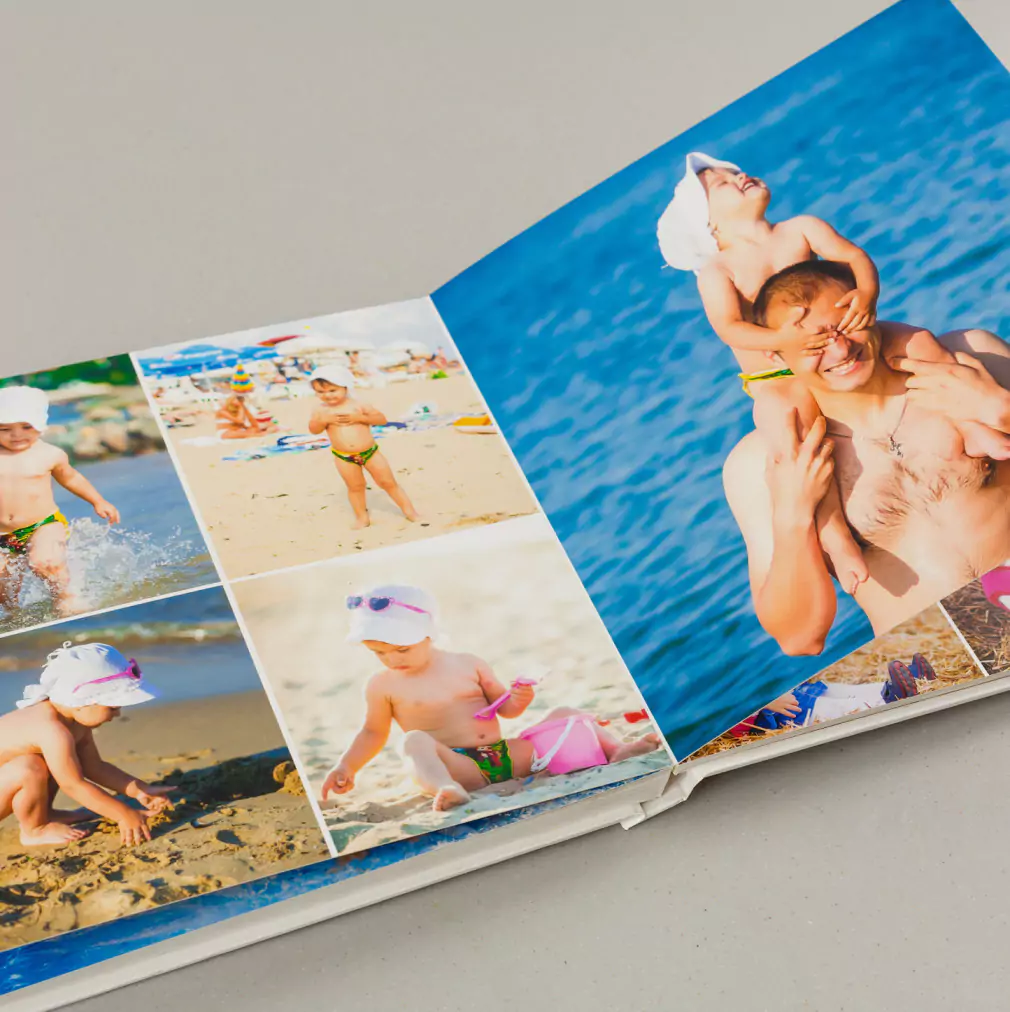
How many photos are in a 24-page photo book?
A 24-page photo book can hold 20 to 100+ photos. Learn how pages, layouts, and design choices affect photo count, style, and storytelling
Read More
RapidStudio's Christmas in July Sale
Christmas in July is fun fake holiday with some good sales and a time that encourage reflection and a good time to assemble your memories in a photo book
Read More
How do photo books work
Learn how to create a high-quality photo book from phone to print with tips on file prep, design tools, layout, text, paper types, binding, and care.
Read More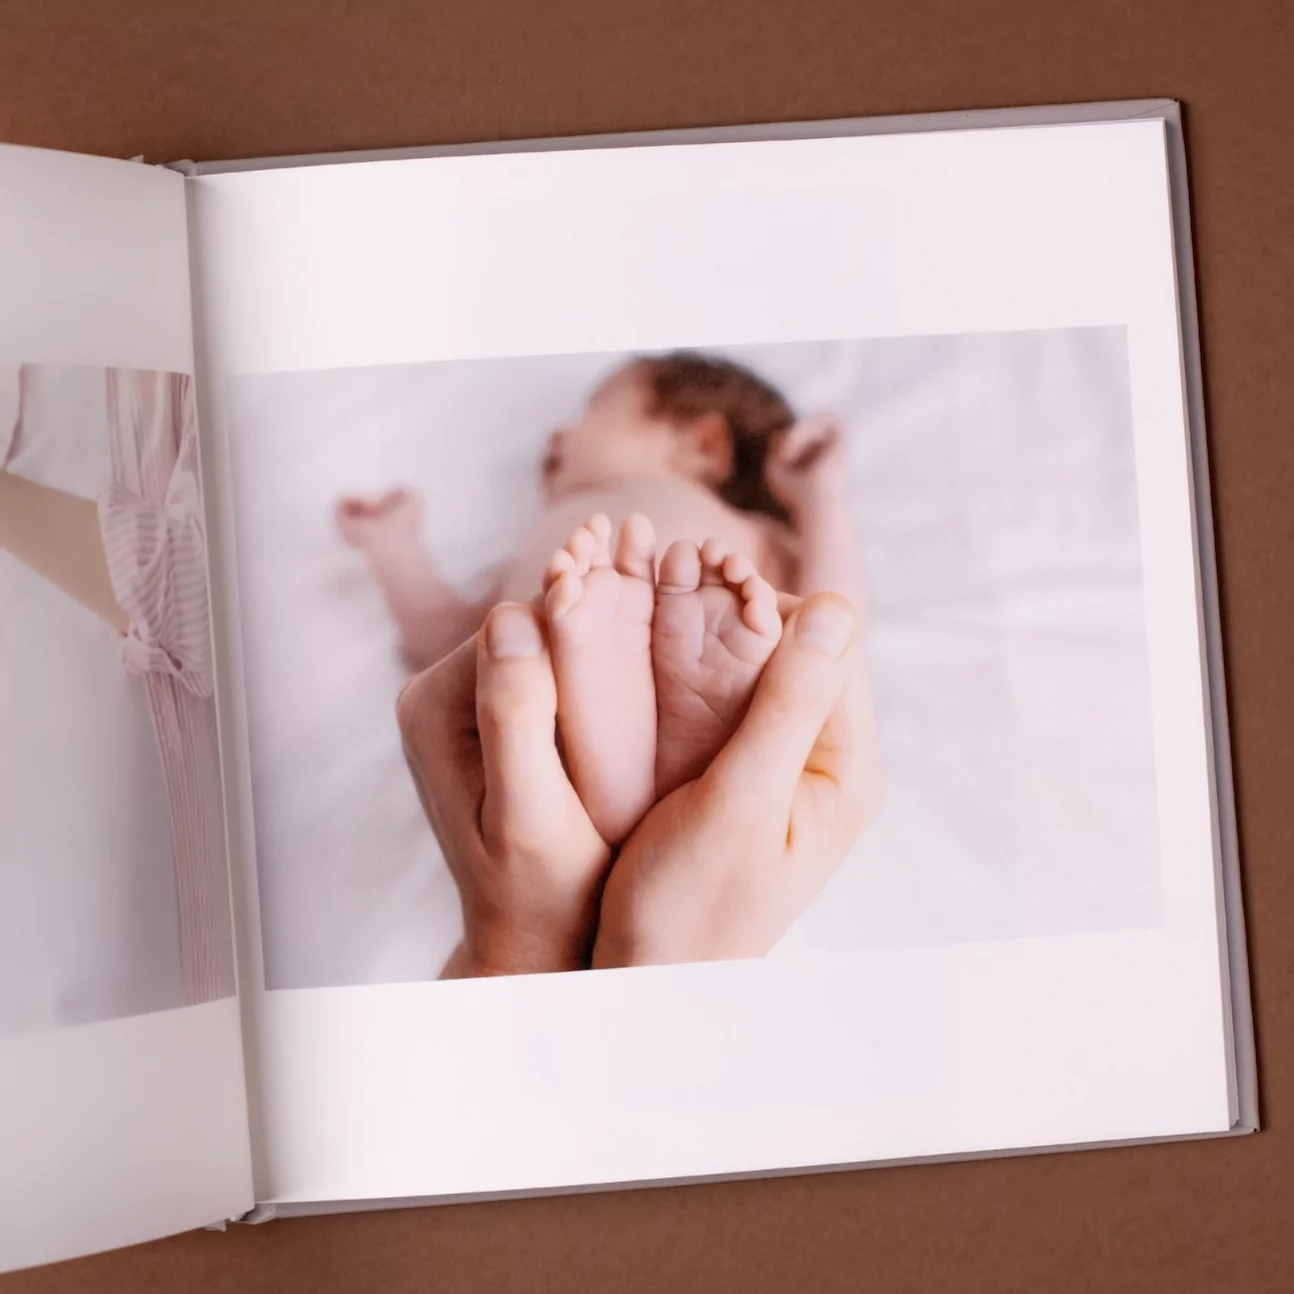
Which are the best photobooks?
Discover what sets the best photobooks apart—from layout and binding to paper, covers, and design tools. Create albums that last and tell your story beautifully.
Read More
How to make a photobook online
Photo books South Africa style! Learning how to make a photobook online is easy. From concept to photobook print. Here's how to your stunning photobook done.
Read More
Gifts for Dad Who Wants Nothing | Fathers Day personalised
Discover the best personalised Father's Day gifts in South Africa – from mugs and photobooks to canvas prints for superdads – perfect for dads who want nothing.
Read MoreRecently Updated:

Boudoir Photography, a surprising look behind the curtain
Discover the world of boudoir photography, offering a surprising glimpse behind the curtain into an empowering art form that celebrates confidence and beauty.
Read More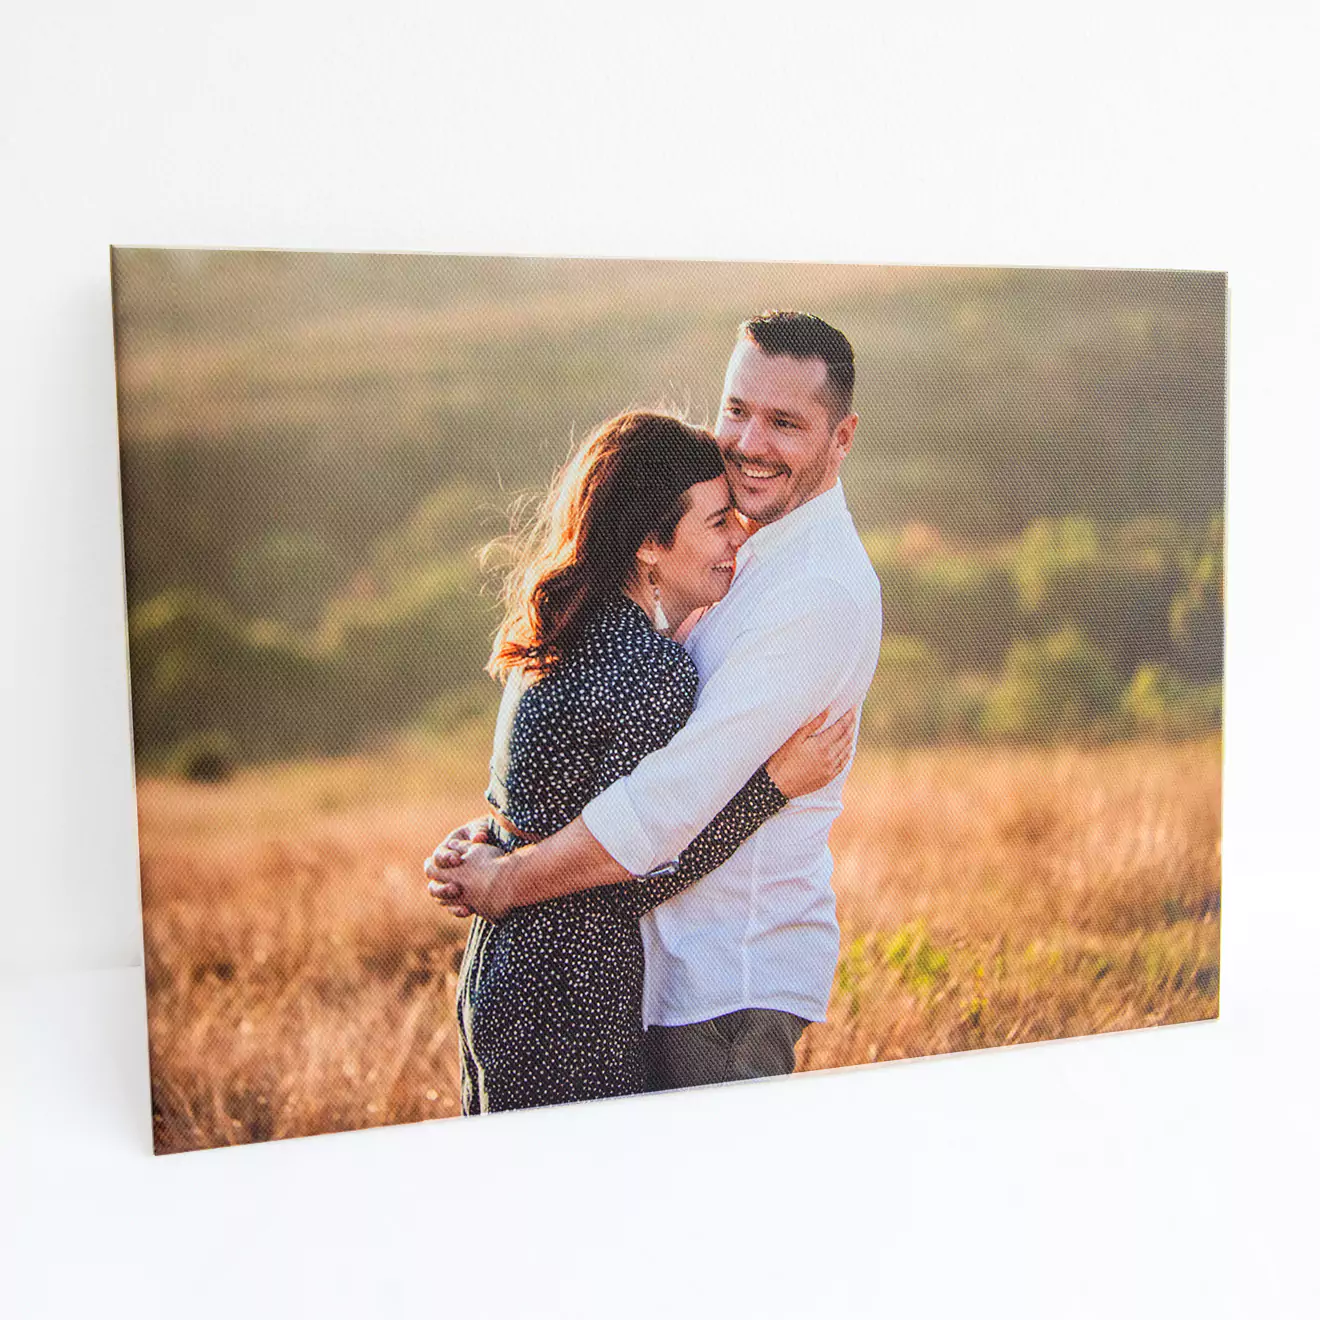
RapidStudio's New product | Skinny Mount Canvas.
Introducing RapidStudio's new Skinny Mount Canvas – a sleek, modern way to showcase your favourite photos with stylish, lightweight designs perfect for any space.
Read More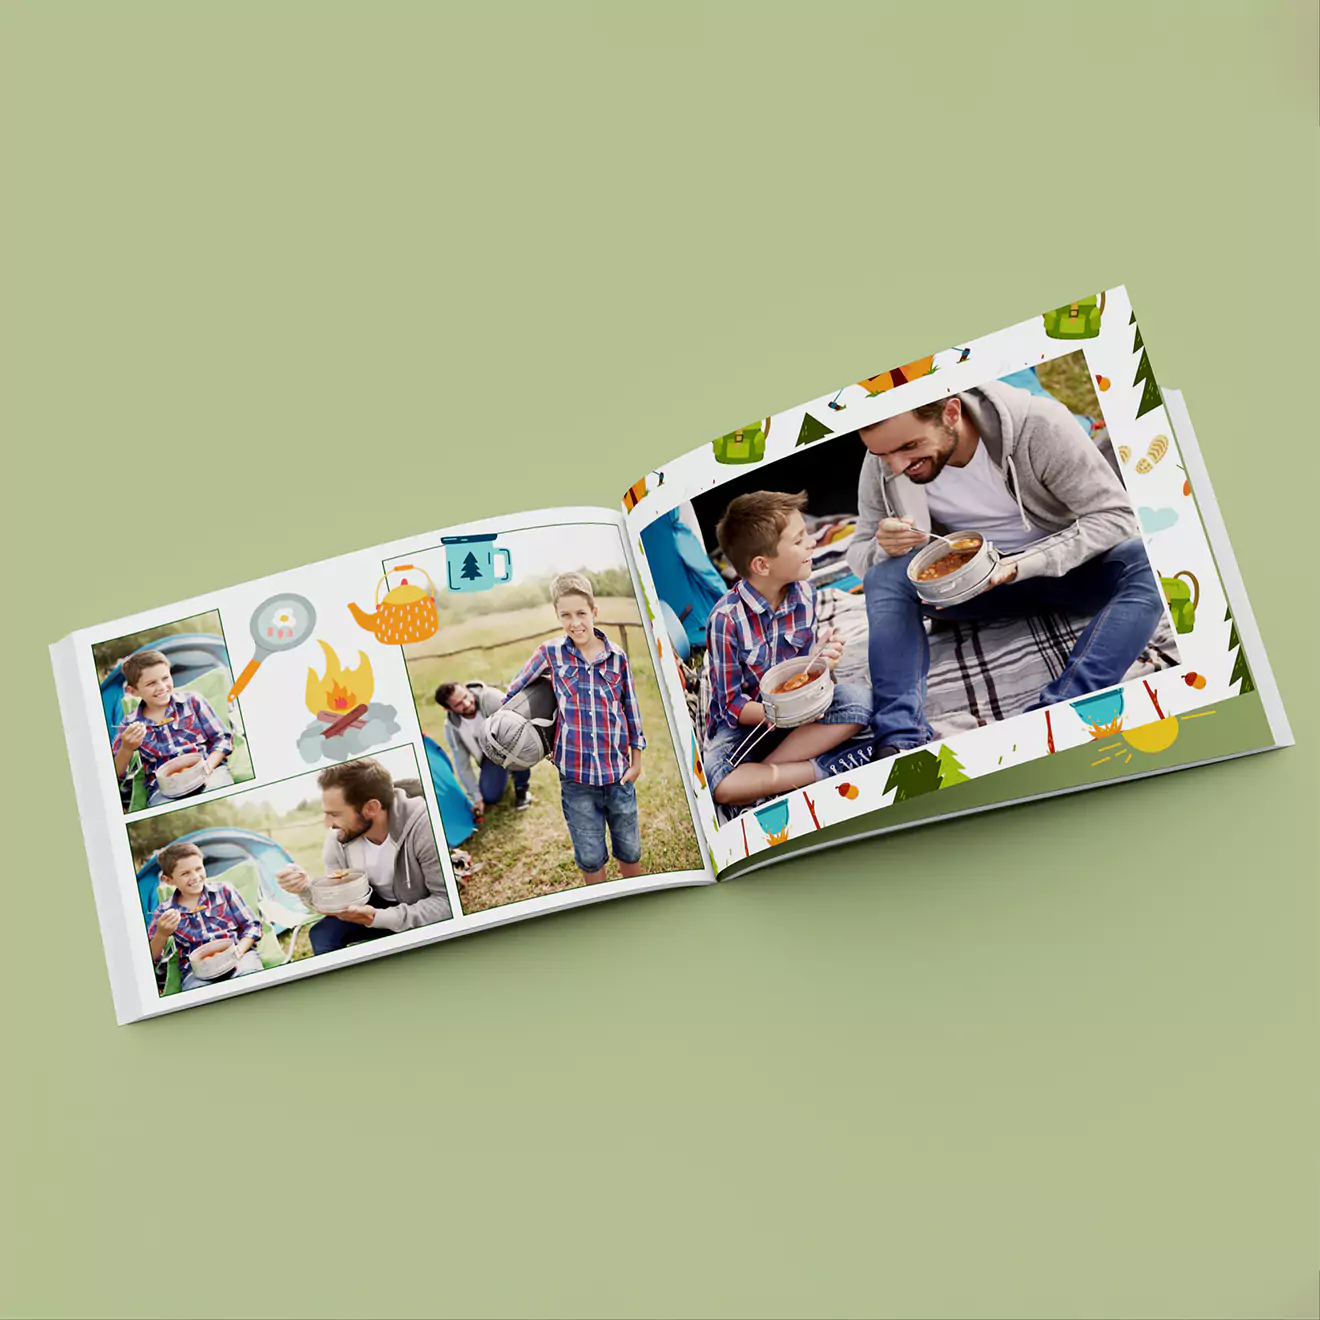
Why should you Create Photo Books? | RapidStudio
Create photobooks with RapidStudio to preserve your memories, tell your unique story, and turn special moments into timeless keepsakes to treasure forever.
Read More